Introduction:
Wooden.Flowers brings you another creative and beautiful way to transform your home decor into something extraordinary. In this blog post, we will explore the art of crafting stunning shadowbox displays using the delicate and elegant wooden flowers from our collection. With just a few simple tools, a shadow box, and a bundle of wooden roses, you can create a unique and eye-catching piece of art that will capture the essence of nature's beauty for years to come.
Tools Needed:
Before we dive into the creative process, let's gather the tools and materials you'll need:
Wire Cutters (optional) - While you can simply pull the stems off your wooden flowers, having a pair of wire cutters on hand can make the process more precise and effortless.
A Shadow Box - Choose a shadow box that suits your style and complements your interior decor. These can be found in various sizes, designs, and colors to match your personal taste.
Wooden Flowers - For our demonstration, we used 63 wooden roses from Wooden.Flowers, but feel free to mix and match with other wooden flower varieties to create a dynamic and visually stunning composition.

Step 1: Select Your Wooden Flowers
Begin by choosing the wooden flowers you want to feature in your shadowbox. The variety of colors available in the Wooden.Flowers collection allows you to get as creative as you like. Select a combination that resonates with your style and the message you want to convey.
Step 2: Remove the Stems
If you're using wire cutters, snip off the stems from your wooden flowers. Alternatively, if you prefer, you can gently pull the stems out, leaving only the blossom and petals. Removing the stems will help you achieve a more streamlined and visually pleasing look inside the shadowbox.
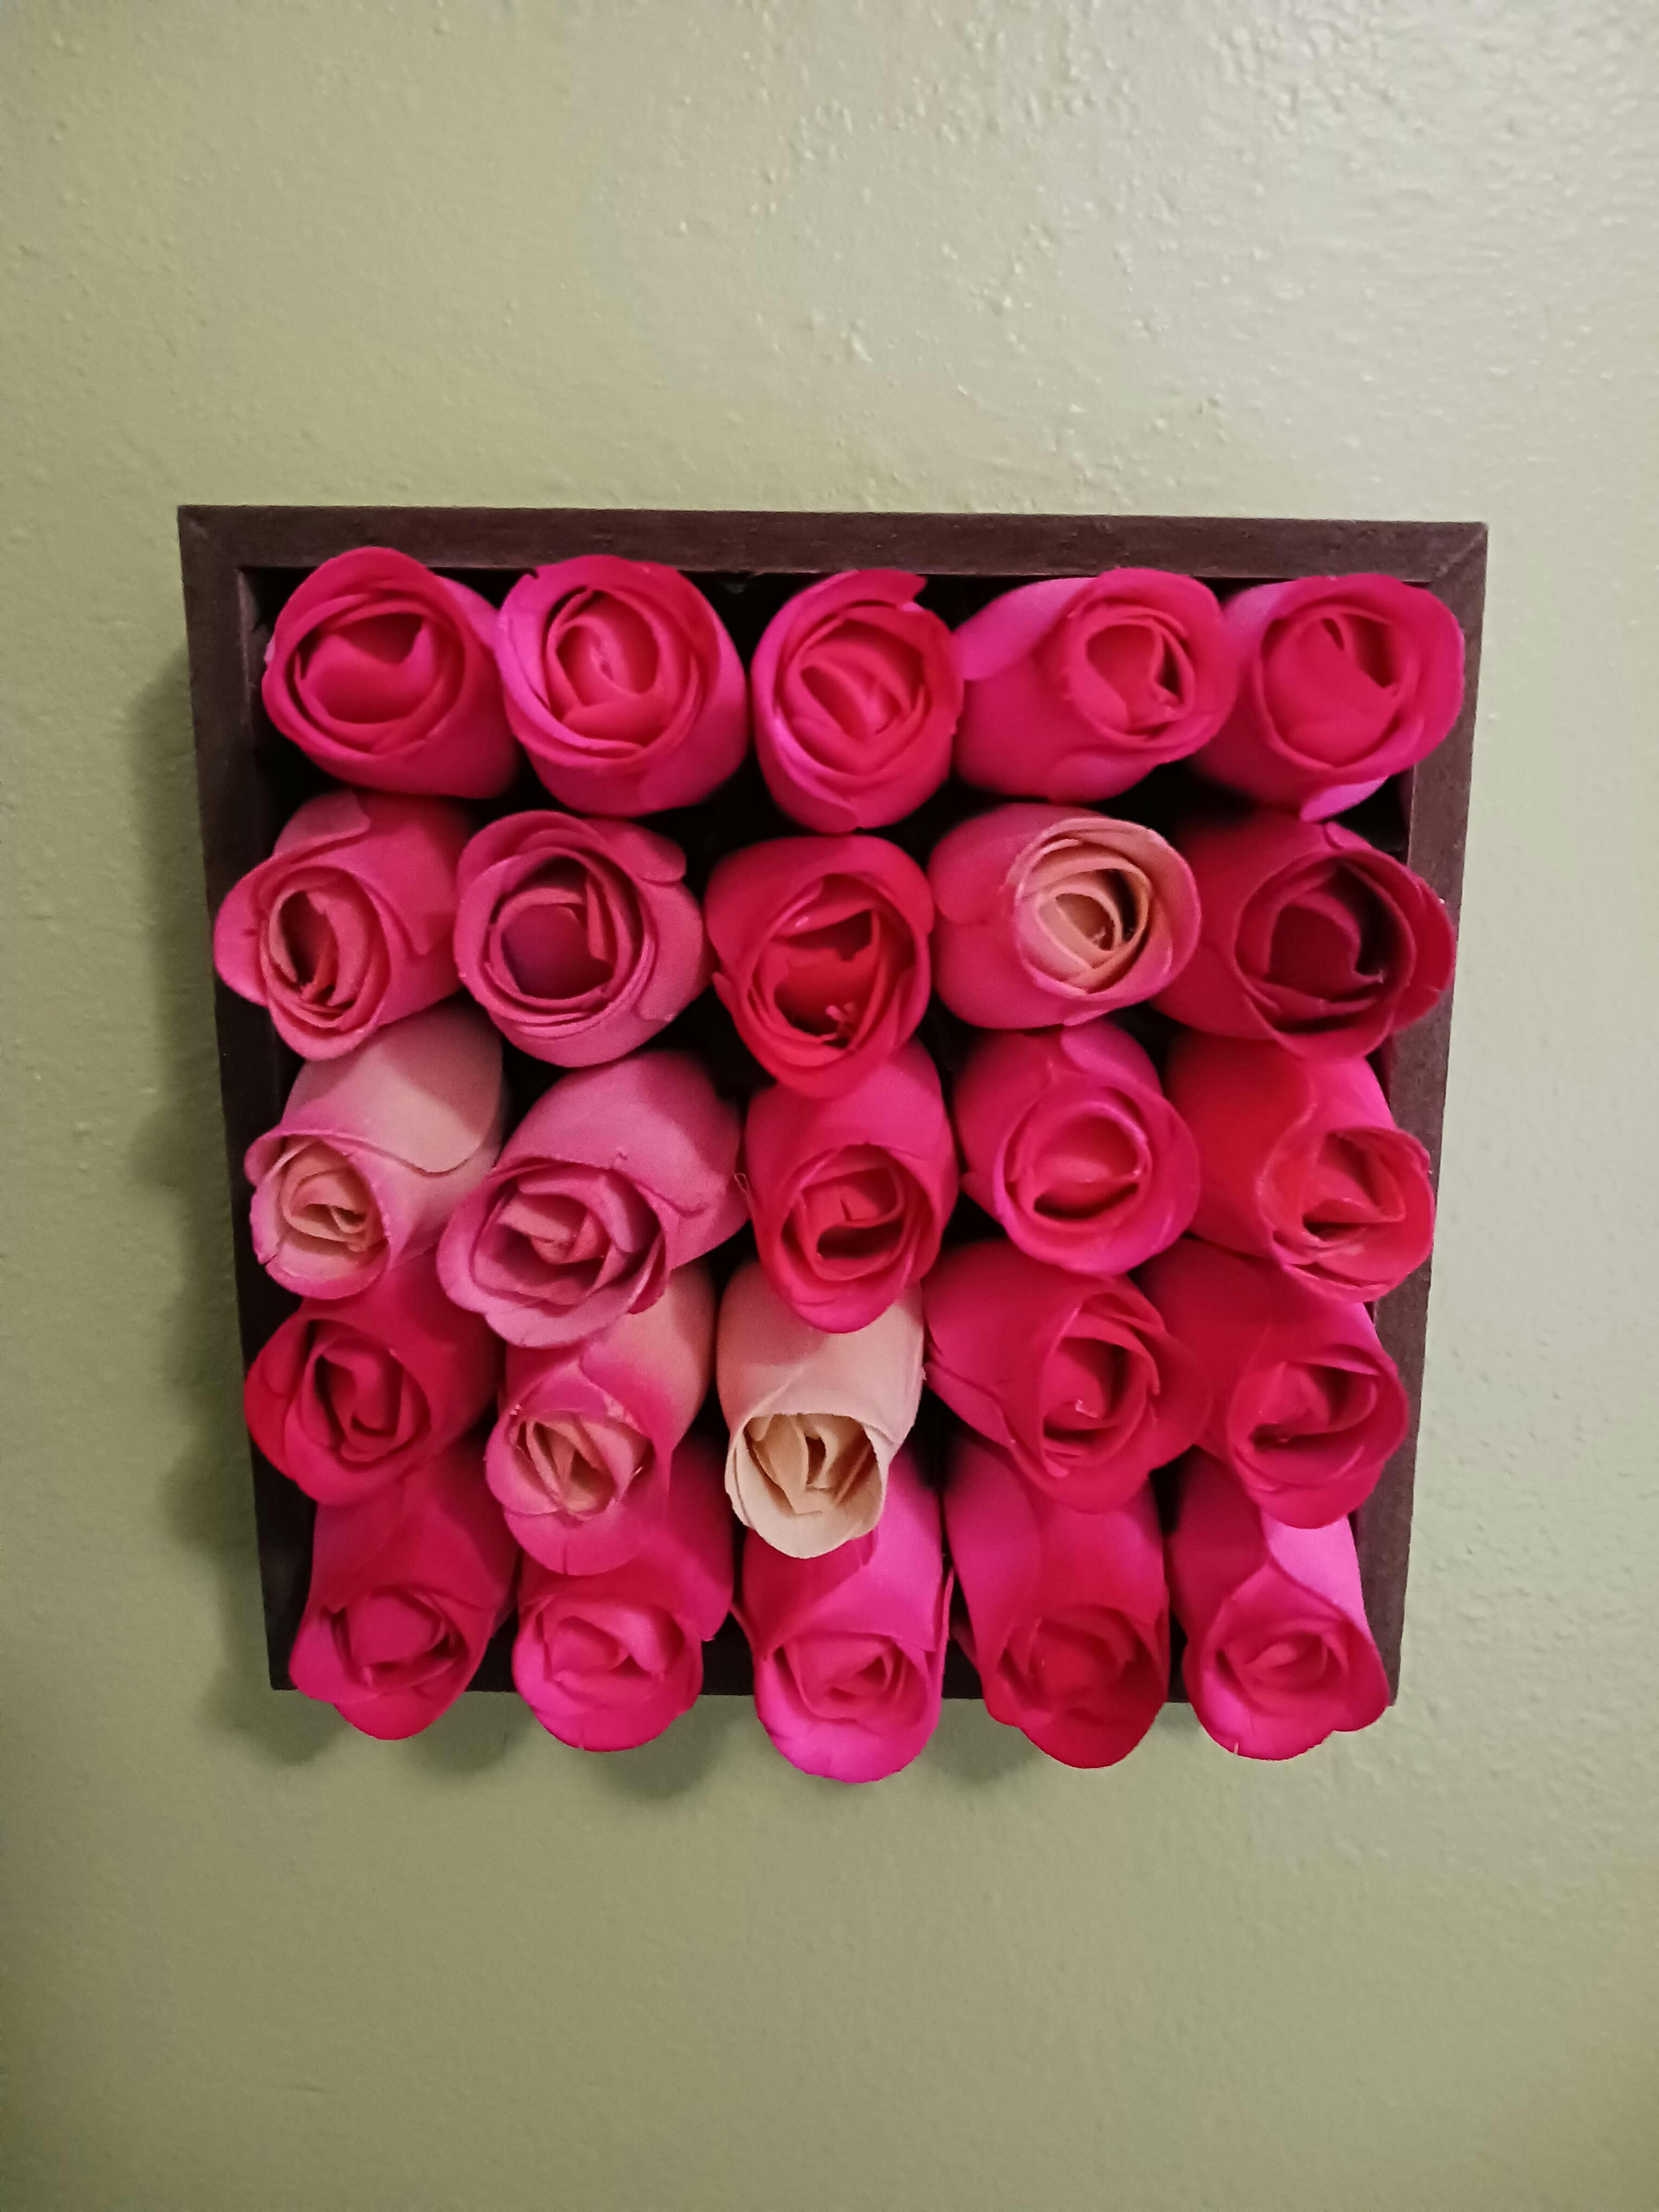
Step 3: Arrange Your Wooden Flowers
Now, arrange your wooden flowers inside the shadowbox. Play around with different layouts and designs until you achieve a composition that speaks to you. You can experiment with patterns, gradients, or a more organic, scattered look. The choice is entirely yours, and that's what makes this project so personal and special.
Step 4: Secure the Wooden Flowers
To keep your wooden flowers in place, you can use a dab of adhesive on the back of each flower, or you can secure them by using double-sided tape. This will ensure that your flowers stay in their desired positions and don't shift around inside the shadowbox. Alternately, depending on your shadowbox, the back of the frame may hold it just fine.
Step 5: Frame and Hang Your Shadowbox
Once your wooden flowers are securely in place, carefully close the shadowbox. Depending on the design of your shadowbox, you may need to fasten the back using the provided clips or fasteners. Now, you have a beautiful and unique piece of art ready to grace your wall.
Conclusion:
Using shadowboxes to display your Wooden.Flowers is an imaginative way to bring the elegance of nature into your home. This project allows you to craft a piece of art that is not only visually stunning but also deeply personal. The versatility of Wooden.Flowers' wooden roses and your creativity are the only limits to what you can achieve.
So, if you're looking for a creative outlet and a way to infuse your living space with charm and style, consider crafting your own wooden flower shadowbox. It's a delightful and memorable DIY project that will bring a touch of the outdoors inside, and it's sure to be a conversation piece for years to come.